 CUTTING OUT:
♪ - Select the Lasso Tool on Photoshop. The lasso tool creates a custom, free-hand selection. It is usually used to cut out, or select specific sections of a pre-existing picture. Access the lasso tool by clicking on the icon located on the tool bar, or press the keyboard shortcut L.
♪ - The normal lasso tool : helps by clicking specific points around an image, Photoshop will draw straight lines from point to point as you continue to click the canvas. Use Delete - Del to undo a point and try again. This tool is not ideal for cutting out difficult images.
♪ - Polygonal lasso tool : Holding shift while clicking with the polygonal lasso tool creates straight lines and 45 degree angles. This is a handy tip to create specific shapes like diamonds, rectangles, or triangles. Photoshop will draw in straight lines from point to point as you click around the image.
♪ - The magnetic lasso tool : This tool works best when there is a huge contrast between objects in the foreground of the photo or objects in the background. Simply click near the a high-contrast edge and the lasso tool snuggles right up against the edge as you drag the mouse cursor along the line of contrast.
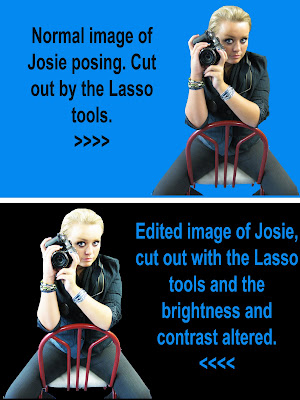
♪ - I used the normal lasso tool as i find it is much more accurate for me and this is how i cut out my image of josie from the original background she was on. Then i edited her by brightening the brightness and contrast on the image.
NEGATIVE STRIP:

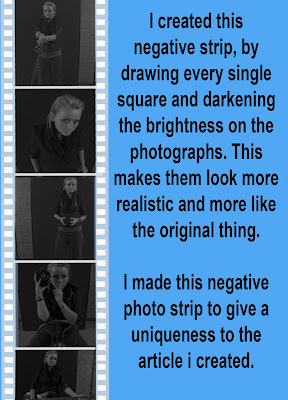
♪ - I drew out every single square around the edge of the negative strip by using the square shape tool.
♪ - I drew the background as a bigger box than the images then placed all the little white squares around the edge, to make it look like a negative strip from a photoshoot.
♪ - I added in the images and made them all the same size so it didn't look odd.
♪ - I changed the brightness of the photographs and the saturation so the images where dark and black and white. I did this to make it look like they were negatives from a camera.
♪ - I fixed all the layers together so the piece was a whole, and then could move everything around as one layer, rather than 70 little ones.
 CHANGING THE IMAGE:
 ♪ - I cut Josie out using the Lasso tool (described above).
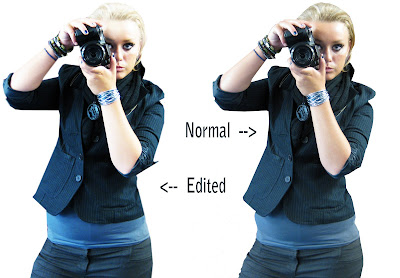
♪ - I then placed her onto a white background to show you the difference between the two images. The original is placed on the right and the edited image on the left.
♪ - I added contrast and used a high brightness on her to make her much lighter. I did this to emphasise her eyes.
♪ - When i cut Josie out i made her appear skinnier than she actually is, this is commonly used in modern day magazines in nowadays.
♪ - I also used the dodge tool on Photoshop which lightens the pixels you paint. it also improves the exposure of your photo and brings out detail; it directs your viewers attention through creative use of highlights and shadows; and creates impact by adding dramatic highlights and shadows. Which is very good for emphasising.

SPLATS:
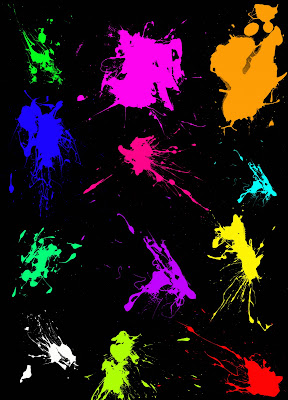
♪ - These are the different splats i experimented with.
♪ - On my front cover, contents and article, i decided to use a mixture of them, in different eye catching colours, to give a unique appearance to the magazine cover.
♪ - I thought the splatters on a white background was more effective.
♪ - I used the luminous colours as they stood out more.
No comments:
Post a Comment